Arriving in the UK as an international student: the first 14 days
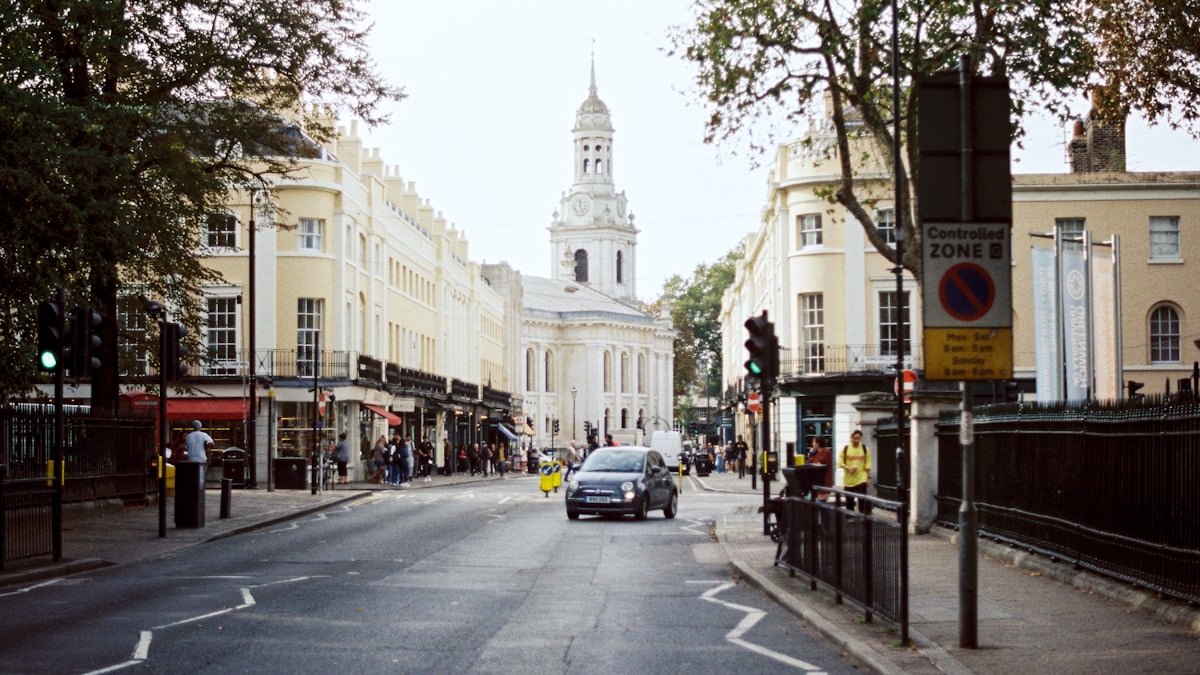
Stepping off the plane in the UK as an international student is an incredible moment, but it can also feel overwhelming. Between jet lag, finding your way around campus, and unpacking, you have a series of administrative tasks to complete. This guide maps out your first fortnight in a logical sequence, turning a mountain of paperwork into a manageable day-by-day plan so you can focus on settling into your new home.
In short
- Enrolment unlocks everything: Your official university status letter is the master key that satisfies banks, landlords, and the NHS.
- BRP or eVisa collection first: Collect your physical Biometric Residence Permit or check your digital eVisa status within your first days.
- No-address banking routes: You can open a student account or an app-based account using your student status letter before you have utility bills.
- GP registration is free: Registering with a local doctor is free and does not require proof of address or a physical visa card.
The sequence that beats the paperwork loop
When you first arrive in the UK, you might find yourself in a classic administrative loop: you need a bank account to pay for things, but banks want proof of address, and landlords want to see your bank details before they sign a tenancy agreement. The secret to breaking this loop is your university enrolment letter. In the UK, universities act as your administrative anchor. Once you officially complete your university enrolment, your student status letter becomes the ultimate proof of identity and local address.
While standard residents must show utility bills or tenancy agreements to open a bank account, international students can usually bypass this by showing a specific "Student Status Letter" addressed to their bank from their university registry.
Days 1 to 3: Status, SIM, and local travel
Your immediate priority is securing your legal status and setting up basic communication. If you have been issued a physical Biometric Residence Permit (BRP), the official decision letter from the Home Office will state where to collect it—usually a designated post office branch or your university campus. You should aim to collect this within your first ten days in the UK, as detailed in the official UK student visa guidance. If you have a digital immigration status instead, you will use the online system to manage your status, which you can read about in our guide to generating UK eVisa share codes.
Alongside your visa, pick up a local SIM card. You can find free or cheap prepaid SIM cards at airport shops, supermarkets, or ordered online. Having a UK phone number is essential, as local banks, delivery services, and university administration systems will need to contact you via SMS.
Days 4 to 7: University enrolment and bank accounts
Once you are on campus, complete your university's official registration or enrolment process. The administrative team will verify your passport and visa status. Once complete, ask the student services department for an official student status letter. Specifically, ask for a version addressed to the bank you intend to use. This letter must state your name, UK term-time address, home country address, and confirm your course details.
With this letter in hand, you can set up your finances. Many high-street banks offer dedicated international student accounts. Alternatively, digital-first banks offer a quick way to get a local account number. If you run into issues with traditional banks demanding utility bills, our guide on opening a UK bank account without proof of address outlines alternative documents that banks are legally allowed to accept.
Days 8 to 10: Registering with a doctor (GP)
As an international student who has paid the Immigration Health Surcharge (IHS) as part of your visa application, you are entitled to use the National Health Service (NHS). However, treatment is not automatic; you must register with a local General Practitioner (GP) surgery. It is highly recommended to do this before you get sick, as registration can take a week or two to process.
You can find a local surgery near your accommodation using the NHS website. When you register, you do not need to show proof of address or immigration status, although presenting your student enrolment letter can speed up the process. For a step-by-step walkthrough of this right, see our guide on registering with a GP with no proof of address, which relies on NHS England guidelines stating that surgeries cannot refuse registration based on a lack of identification.
Days 11 to 14: Student discounts and Council Tax exemption
In your second week, you can start saving money. Full-time students in the UK are generally exempt from paying Council Tax, which is a local property tax. If you live in university halls of residence, this is handled automatically. If you live in private shared housing, you must apply for an exemption through your local council's website by uploading a digital copy of your university enrolment letter.
Finally, unlock local student discounts. You can apply for a student travelcard (such as the 16-25 Railcard or local bus passes) to save up to a third on train fares across the country. Registering with national student discount platforms will also grant you discounts on food, clothing, and technology, helping your budget stretch much further during your first term.
Official sources to bookmark
Let ONDALOO map your UK student journey step-by-step
ONDALOO turns your specific move into one sequenced plan — with every step linked to its official source. We're building it route by route, with an early group along for the journey.
Join the waitlist